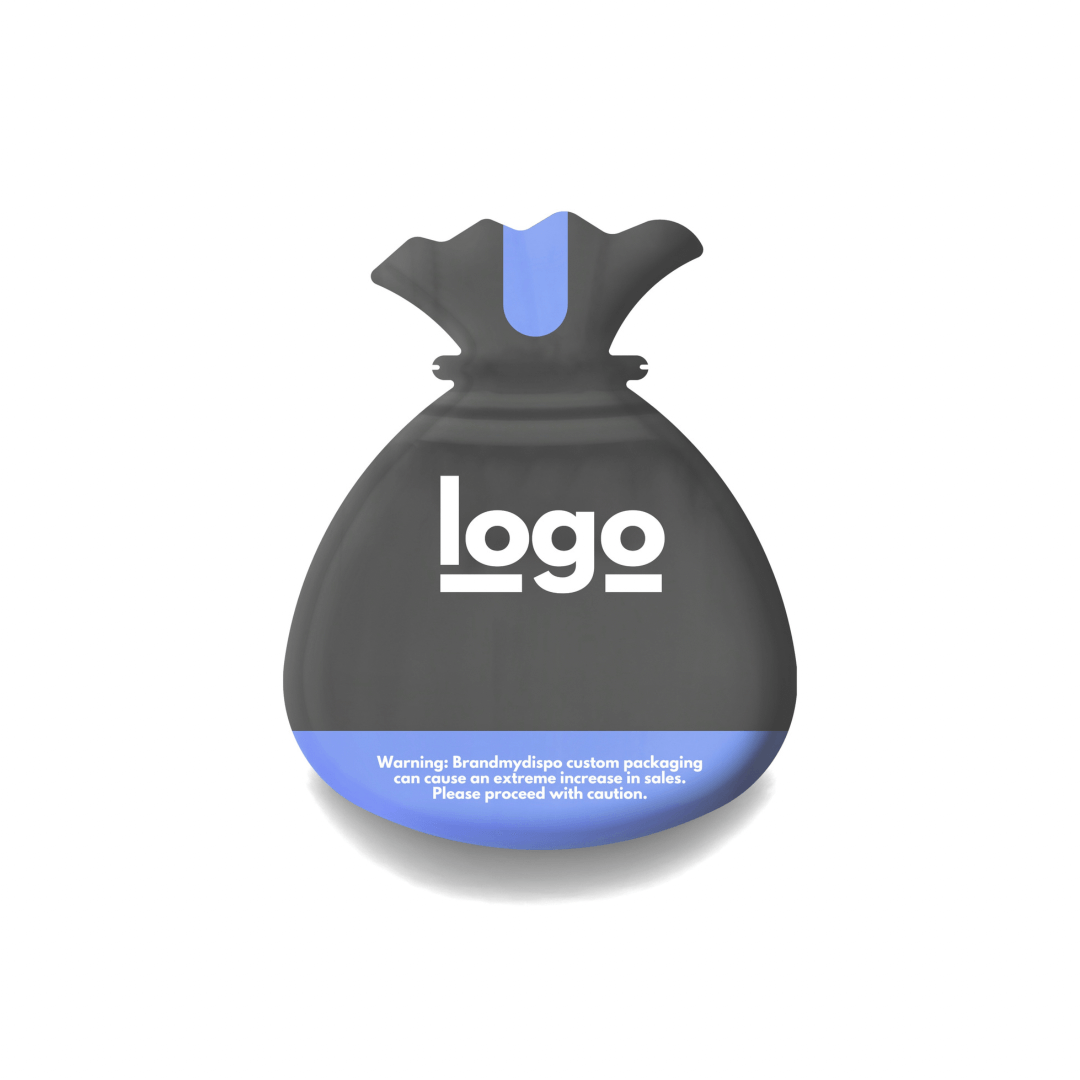


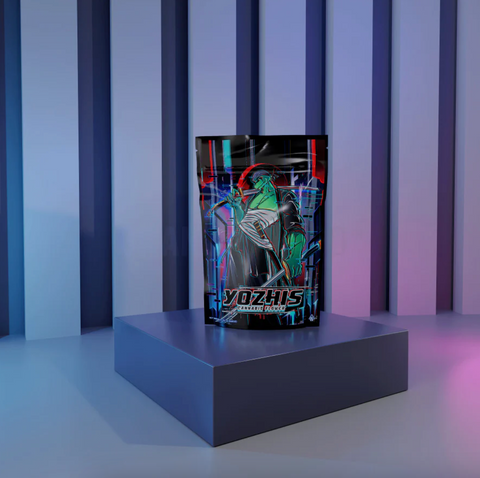
Mylar bags serve as the canvas for brands to communicate their identity through stunning, custom stickers. Perfect for everything from artisanal treats to high-tech items, these stickers do more than just inform—they captivate and delight.
Follow this comprehensive guide to mastering the art of sticker printing for Mylar bags, ensuring your product not only stands out but speaks volumes about your brand’s quality.
Getting the Size Right
Precision is Key: The secret to a perfectly sized sticker begins with its measurements. For an ideal fit, your sticker should be a quarter inch smaller than your Mylar bag. For example, if your bag is 3.5x5 inches, size your sticker to 3.25x4.75 inches. This approach guarantees a sleek, professional margin that enhances the sticker’s visual appeal without overlapping or bunching at the edges.
Crafting the Design
Creating a Visual Impact: Your sticker's design should mirror your brand’s ethos and allure the target audience. Opt for bold, vibrant colors and crisp, clear typography to ensure every element pops against the glossy backdrop of a Mylar bag.
Utilizing the Right Tools: Employ robust graphic design software such as Adobe Illustrator or Photoshop to bring your vision to life. These tools offer not only precision but a plethora of creative options to elevate your design.
File Optimization: Before heading to print, ensure your artwork is crystal clear, ideally at 300 dpi, and saved in a print-friendly format like PNG, TIFF, or PDF. This step is crucial for translating your design from screen to print without losing detail.
Selecting Materials and Adhesives
Choosing the Right Substance: The material of your sticker should be as resilient as it is eye-catching. Vinyl is a popular choice for its durability and its ability to withstand environmental challenges, such as moisture and temperature variations.
Sticky Business: Opt for a strong, permanent adhesive to ensure your stickers adhere smoothly to the sleek surface of Mylar bags. This ensures longevity and resistance to peeling, keeping your product looking pristine.
The Printing Process
Home Printing vs. Professional Services: If you’re tackling printing in-house, make sure your printer is up to the task of handling heavy-duty materials like paper adhesive or vinyl. For those seeking flawless quality and higher quantities, professional printing services are recommended. They can provide not only the necessary equipment but also valuable expertise in material and print quality.
Application Techniques
Prepping the Surface: Cleanliness is crucial. Ensure the Mylar bag’s surface is devoid of dust and oils by wiping it down with an alcohol pad. This prep work makes for a flawless application.
Sticker Application: Apply the sticker slowly, starting from one end and smoothing towards the other to eliminate any potential air bubbles. A squeegee can be instrumental in achieving a smooth, firm adhesion.
Care and Maintenance
Handling With Care: Once the stickers are applied, treat your Mylar bags with an extra level of care to avoid scrapes or situations that might compromise the adhesive.
Proper Storage: Keep your sticker-adorned custom Mylar bags in a cool, dry place away from direct sunlight to prevent fading and to maintain the adhesive’s strength.
Crafting and applying stickers to Mylar bags is an art that enhances your product’s shelf presence dramatically. By meticulously choosing the right design elements, materials, and application techniques, you ensure that every piece that hits the shelves is not just seen but remembered. With these detailed steps, your stickers will do more than stick; they'll make a lasting impression.
7 Design Tips for Custom Mylar Bag Stickers
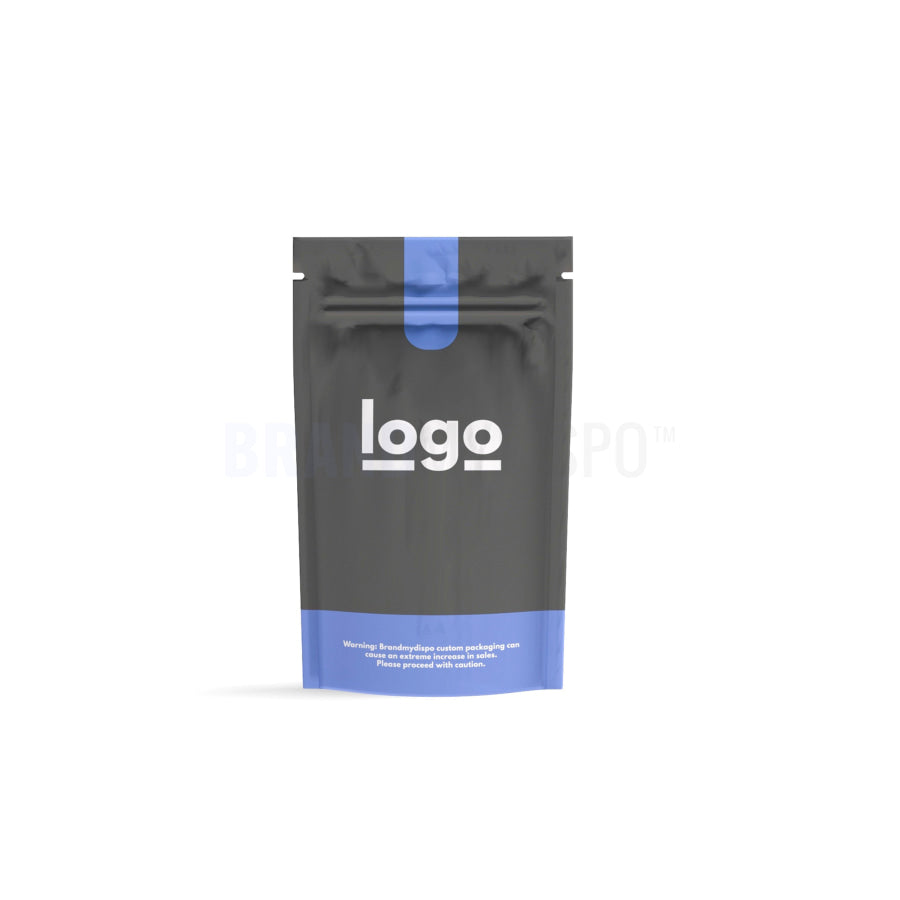
When it comes to packaging, custom Mylar bags are a favorite due to their durability and sleek, reflective qualities. But beyond functionality, these bags are prime real estate for brand storytelling and visual allure.
Here’s how you can design Mylar bags that don't just package your product but also turn heads and spark interest.
1. Dive Deep into Brand and Market Insights
Anchor Your Design in Brand Identity: Every curve, color, and font on your custom Mylar bag should echo your brand’s core values and aesthetic. This coherence ensures your products are instantly recognizable, reinforcing brand loyalty.
Know Your Audience: Tailor your design to fit the preferences and lifestyles of your target demographic. A design that resonates personally with your audience can enhance engagement and drive sales.
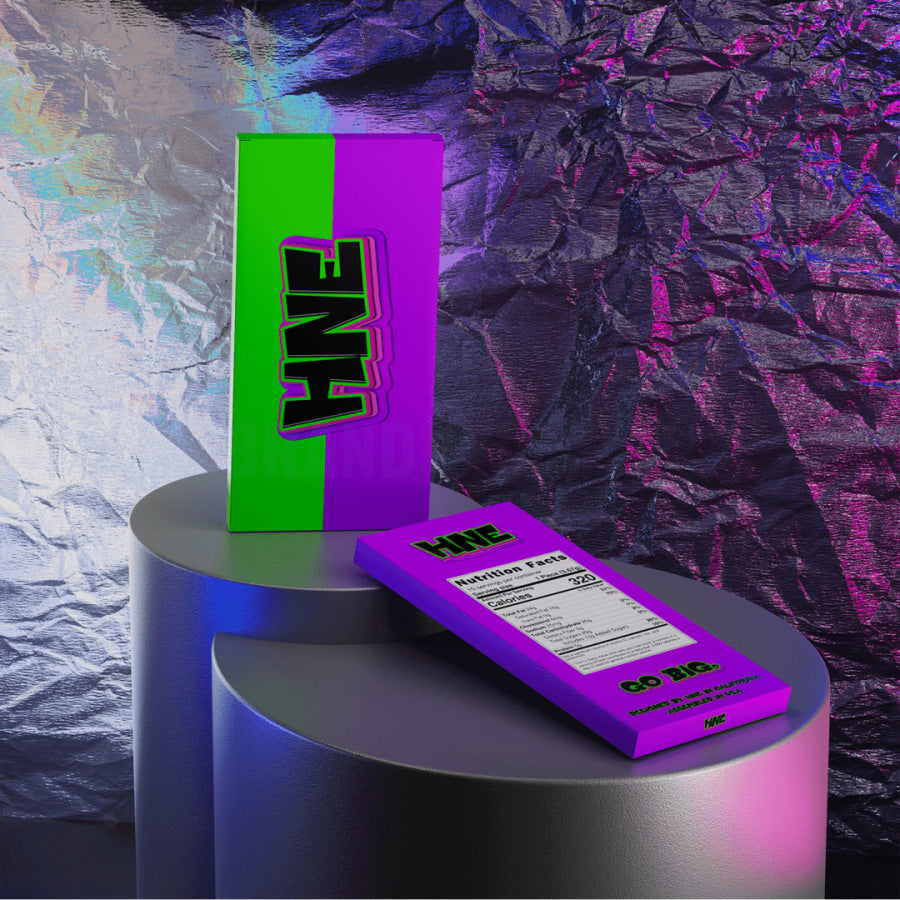
2. Harness the Power of Colors
Strategic Color Choices: Colors do more than beautify—they communicate. Choose a palette that conjures the right emotions and reactions. Want to inspire trust? Consider blues and greens. Aiming for excitement? Reds and oranges can be your allies.
3. Optimize Imagery for Impact
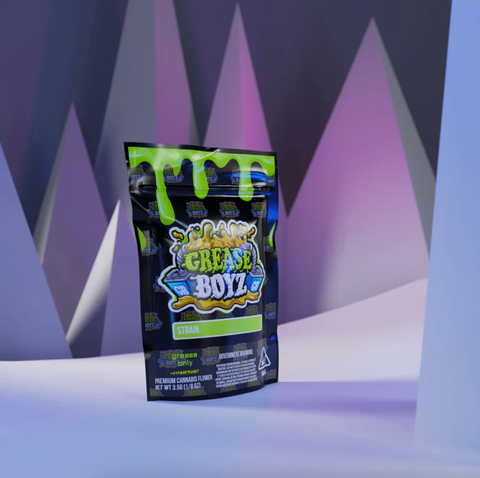
Prioritize High-Definition Graphics: Utilize the glossy finish of customized Mylar bags by incorporating crisp, eye-catching images that stand out on store shelves. Whether it’s a vivid logo or a lush, intricate pattern, make sure it’s something that can be seen and appreciated from afar.
Scale Wisely: Adapt your imagery to the size of the bag. Smaller bags benefit from simpler, bold designs, while larger surfaces can handle more complexity and nuance.
4. Typography That Talks
Legibility is Key: Your text should not only be readable from a distance but also aesthetically pleasing. Choose fonts that reflect your brand’s personality—be it sophisticated serifs or sleek, modern sans-serifs.
Balanced Font Sizing: Ensure your typography is proportionate to the bag's size and layout. Highlight key information like product names and benefits to catch the shopper’s eye.
5. Design with Purpose
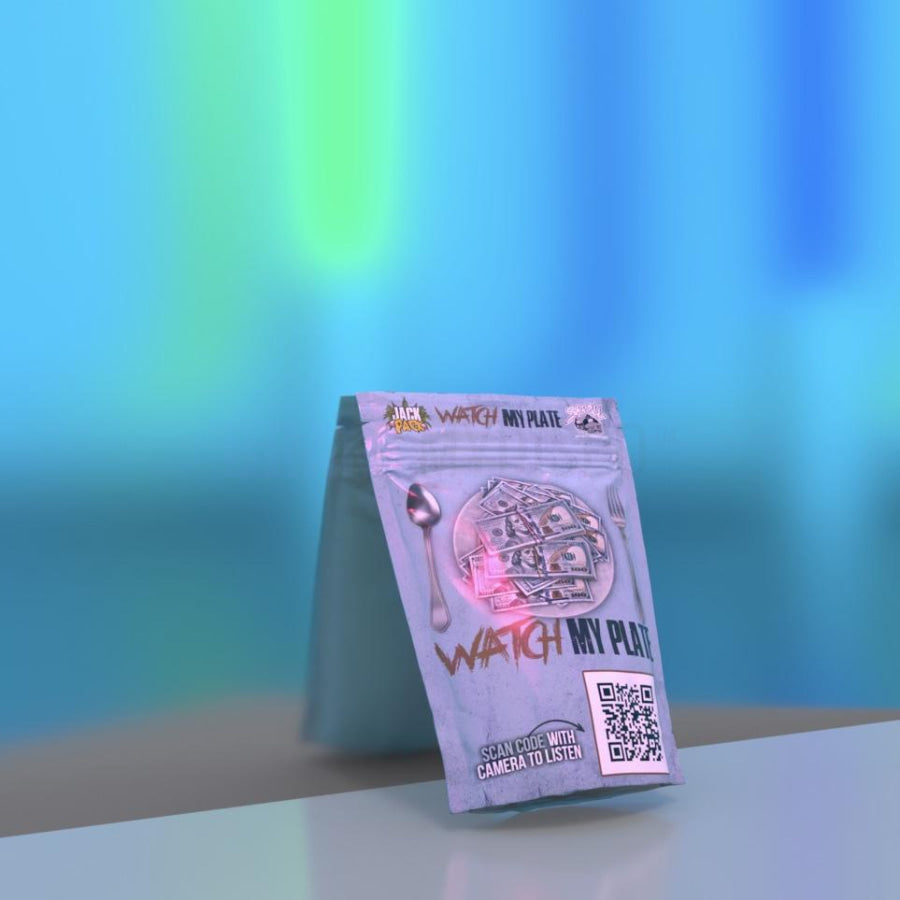
Functional Aesthetics: Integrate practical elements like nutritional labels, instructions, or QR codes seamlessly into your design. This blend of form and function can enhance the user experience without compromising on style.
Authenticity Matters: Ensure your design genuinely represents the product inside. Authenticity builds trust and cuts through the noise in crowded markets.
6. Elevate with Finishes
Experiment with Textures: Consider unique finishes like matte or metallic that can elevate the tactile and visual experience of your bags. Such details can make your product feel premium and can be the difference between someone passing by or pausing to take a closer look.
7. Iterate with Prototypes
Mock It Up: Before committing to a final mylar bag design, create prototypes to see how your designs translate from digital to physical. This step can help you catch potential issues with color, scale, or text placement before they become costly.
Seek Out Feedback: Use your prototypes to gather insights from potential customers or team members. Real-world feedback is invaluable for refining your designs to better meet market expectations.
Your custom Mylar bag isn’t just a container; it’s a communication tool, a mini-billboard that showcases your brand. By blending smart design strategies with an understanding of your audience and market, you can create customized Mylar bag designs that are not only beautiful but also strategically poised to capture attention and engage customers.
With each design choice, consider not only aesthetics but also the story you’re telling and the impression you’ll leave. This approach ensures that your products don’t just sit on the shelf—they shine.
Deje un comentario